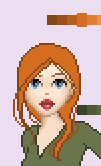
Getting her dressed
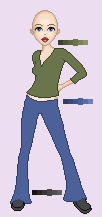
Now to the fun part... I do her clothes, hair and shoes one by one on seperate layers.
I only do palette, outline and fill to start out with, no shading yet.
I decide that her first piece of clothing will be blue pants. But before I start drawing anything I'll do a color palette for the pants on a seperate layer. I name the layer 'palettes' and this is where I'll draw all the different color palettes for the doll. I do this because that way I can just hide the palettes layer when saving the doll, and go back to it if I need it for editing the doll later.
So Layers->New raster layer... and name it 'palettes'.
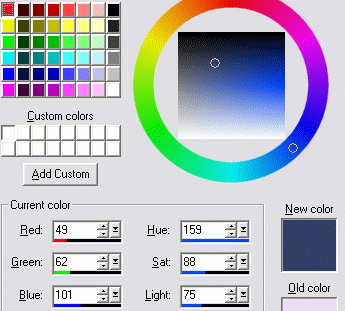
I click on the foreground color to pick my first color for the palette. I go with a dark blue color, I make it darker than I want the pants to be, because this will be the outline color.
On the palette layer I draw a small box with the outline color (place it close to the pants). I make it about 5x5 pixels - in doesn't need to be huge, but it must be big enough to see in 1:1 also.
I click the foreground color again and pick a color slightly lighter than the outline color (move the color picker down). The 2 colors shouldn't be so close that they look alike, but on the other hand you don't want a huge contrast. Continue this way untill you have 6 colors. It's important that you view your palette in 1:1 to see if it looks ok. It should look smooth but the colors should not blend together completely. My palette looks like this:
You will notice that I made the 4th box a bit bigger - this is my middle color, the ones to the right are the light tones, the ones to the left are the dark tones and the outline. I will refer to the colors (from left to right) as outline, darker, dark, middle, light and lighter.
Now to the pants. I do a new layer for them (Layer -> New Raster layer, name the layer Pants and click OK).
Now when I look at my layer palette I can see the new layer is created under the base layer. So I move it up (click and drag) so it will be on top of the base instead. Now it looks like this:
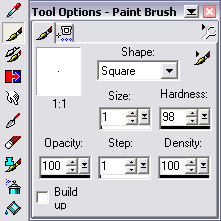
I get the paint brush tool with these settings:
I make sure the pants layer is the active one and then I start to do the outline of the pants with the paint brush.
It is a big help to zoom in while you're working (scroll wheel up/down, '+' and '-' keys or View -> Zoom in.../Zoom out...) BUT remember to check your work in normal size (1:1) once in a while as that is the size other people will be viewing the finished doll in.
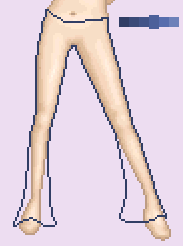
My outline now looks like this:
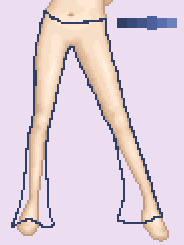
I clean it up using the eraser tool and the paint brush. The outline should be only1 pixel wide so I remove extra pixels and maybe move a few pixels here and there to make sure the lines don't look too wobly. Remember to zoom in and out as you're working. My outline now looks like this:
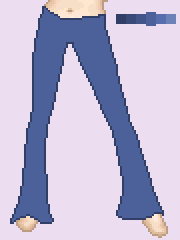
I make sure there are no holes in the outline (if there is I stop them with the middle color). Now I get the magic wand and click in the middle of the pants. This will select all the inside of the pants. I get the flood fill tool, hold down CTRL (the color picker appears), click on the main color from my palette and releases the CTRL key. Now I just click on the selected area with the flood fill tool. The pants now looks like this:
and I will leave it that way for now.
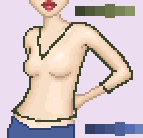
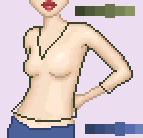
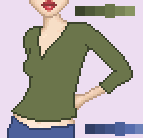
I'll do the other pieces of clothing the same way: make a color palette on the palettes layer, create a new layer, do an outline, clean it and fill it up with the middle color.
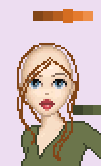
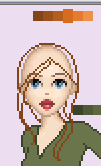
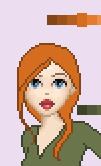
And for the hair I do the same and I also increase the saturation of the palette as the colors get lighter.(move the color picker down and right)
when I'm done filling in with the middle color I draw some stray hairs 1 pixel wide with the darker color.
I look at what I've got, maybe fix a few things here and there. I'll add details later, but the basics looks ok, so I'll leave it at that.
>>> next page, Shading the clothes >>>
