Doing the outline
Find a base and prepare it - that means removing the background color and enlarging the canvas. This beautiful base is from Candy Cloud.
(I usually rename the layer [double-click layer thumbnail] with the base to contain the name of the base maker - in this case 'base, candycloud'. That way I'll never forget who to credit.)
The first thing I do it to create a new layer that I name palettes. Click the new layer button in the layers tab.
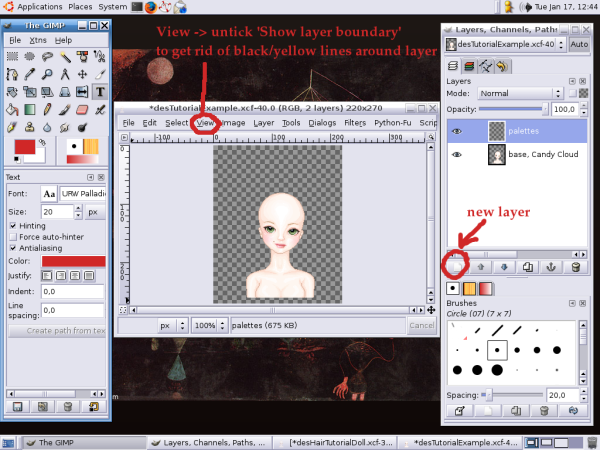
Then I create a palette with 7 colors - 1 outline, 2 shadows, 1 base and 3 highlights. I grab the outline color - the darkest one - and start drawing. On a new layer named 'hair' of course, don't forget ;)
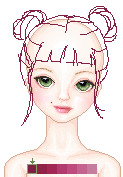
When I've got a result I like I zoom in and clean up the outline so it's one 1 pixel wide most places.
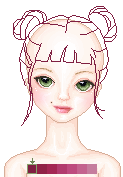
With the base-color I draw to make sure all sections of hair is 'closed' so i can use the flood fill tool without flooding the whole image. Then I grab the "magic wand"/select continuous regions-tool (shortcut: Z) and click inside all sections of the hair. The anti-aliasing and feathering must be turned off and the threshold set to zero.
Hold down SHIFT to add to the selection and CTRL to remove from the selection.
With the flood fill bucket set to 'FG color fill' and 'Fill whole sections' I color in the hair with the base color by clicking inside the selections. I usually miss some areas; those I fill in by using the "pencil"/paint hard edged pixels-tool (shortcut: N) with a 1x1 brush. I prefer the 'pixel (1X1 square)' brush for this.
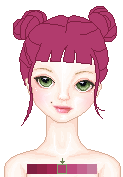
Now at this point it's important to stop and look. Does the outline look ok? Does the hair look like you want it to - should something be added or changed? It's SO much easier to make the changes now - don't wait till you've shaded the whole thing. If the outline looks bad, the finished result will look bad too. (Remember that 'what not to do' ref pic?)
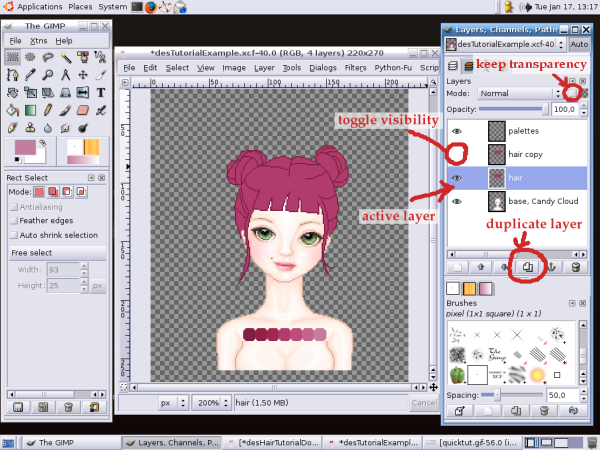
At this point I do a back-up copy of the hair layer. This will allow me to start over if I mess up on the shading and it will also allow me to get back the original unspoiled outline after shading.
Click the duplicate layer button in the layers tab. A new layer will be created named 'hair copy'. Turn off the visibility for this layer - this is our back-up and we don't need to look at it now, it will only get in the way. Also, make sure the 'hair' layer is the active layer. Click on the thumbnail in the layer tab - it should be highlighted.
I always tick off the 'keep transparency' box for the hair layer - this will make sure I stay inside the outline. Very nifty feature...
>>> next page, Doing the shadow and highlight >>>
