
Walkthrough: Editing a css layout - from olive to flower
Get the olive css, html and graphics of both layouts here: zip. If you unzip the whole she-bang the folders should be just right - the css and graphics should be in a sub-folder named layout, that way the path of the files will match the ones in this walkthrough. If you want to make your own graphics for the walkthrough they should be saved into the layout folder along with the other graphics.Basic outline of the html:
The html is linked to a css document:<link rel="stylesheet" href="layout/olive.css" type="text/css">
(In the folder the html document is located in it will look for a folder named 'layout' and a css file named 'olive.css')The document consists of a containing div; inside it is a number (here it's 2) of menu box div's and a div with the main content.
Navigation and other links are put in the menu box divs (you can have as many or few menu boxes you'd like) and the actual page content is put in the main content div.
Very simple structure.
Preparations:
First of all, find out what color and graphics you'd like to use. This layout is made with css color and border properties and graphics for the top and the background only. You'll need a graphics program to tell you the hexcodes that match the colors you want and of course to create your new graphics.I've decided to go for a light look with flowers and blue colors. I've made graphics for the new top and background, they look like this:

And I've decided on some colors for the rest of the layout and found the right hexcodes for those.
What you'll need for the next part:
A webbrowser - Firefox has much better css support that IE and is a lot less buggy, but since you're only making minor changes in an already tested layout IE should be ok for this too.
Notepad - i.e. a simple text editor.
Concentration and lots of coffee ; )
On to the actual editing:
Ok, start your browser and open the html document 'olive_layout.htm' from where you unzipped it to your disk. This way, each time you've made and saved changes in your css you can refresh your browser window to view the results - as easy as it gets.Now start up notepad and open the file 'olive.css' (you'll need to set the filetype to 'all files' in notepad when browsing for htm and css files).
Before you edit anything I recommend saving a backup, just in case anything goes wrong o_O So save your file as 'olive_bkup.css' and then open the 'olive.css' file again. Now you're all set...
By the way, the parts in /* */ are css comments. They have no function other than helping you read and understand the css.
When editing the css you can use any approach you'd like, I'll just start from the top of the css document and work my way down.
The basics:
The rule set for the body is the base so to speak... if nothing else is defined the rules set here will be applied ( or 'inherited' is a more correct term).I'll change the background image to the new background graphics I've just made. And just incase the image won't load (or loads slowly) I'll change the color of the background too as that will be the first to show.
Edit this in the body:
background-color: #454536;
background-image: url(olive_bkgr.gif);
to this:
background-image: url(olive_bkgr.gif);
background-color: #D1DEE6;
background-image: url(flower_bkgr.gif);
I'll go for another text color and font as well:
background-image: url(flower_bkgr.gif);
color: #000;
font-family: "lucida sans unicode", arial, sans-serif;
to this:
font-family: "lucida sans unicode", arial, sans-serif;
color: #202020;
font-family: "times new roman", serif;
note: the first listed font is the preferred font, if it's not installed on the
computer of the person viewing your website the second one will be preferred,
then the third and so on... finish off the list with a font type (like sans-serif
or serif) rather than a specific font name, that way all viewers should be
covered. Font names in more than one word should be quoted like above.font-family: "times new roman", serif;
I refresh my browser and see this: 1st preview (hit the backbutton on your browser to return)
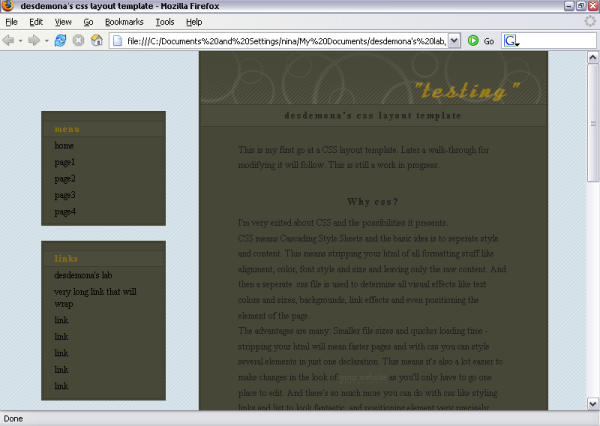
The next thing I want to edit is the menu boxes (the container is just a container for positioning and centering, so I don't need to edit anything there).
In this part:
.menubox {
width: 160px;
border: 3px double #3C3C30;
background-color: #484839;
margin: 0 30px 20px 30px;
padding-top: 10px;
}
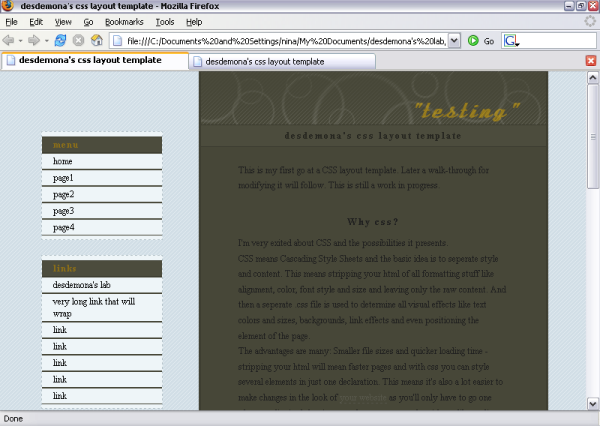
I'll edit the border type and color and the background color. I also edit the top padding to move the content of the box closer to the top. I end up with this:
width: 160px;
border: 3px double #3C3C30;
background-color: #484839;
margin: 0 30px 20px 30px;
padding-top: 10px;
}
.menubox {
width: 160px;
border: 1px dashed #B4C2C8;
background-color: #EEF5F8;
margin: 0 30px 20px 30px;
padding-top: 6px;
}
looking like this: 2nd previewwidth: 160px;
border: 1px dashed #B4C2C8;
background-color: #EEF5F8;
margin: 0 30px 20px 30px;
padding-top: 6px;
}
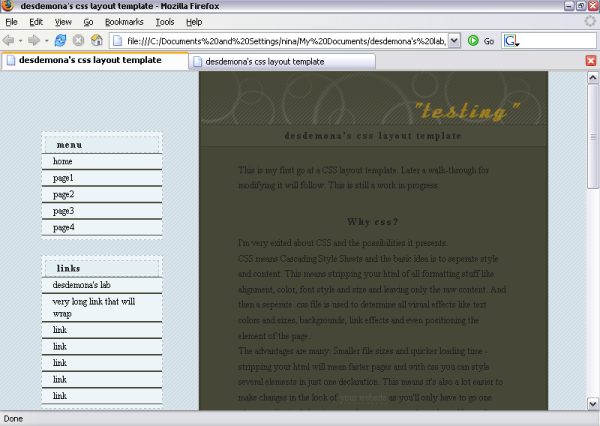
The next thing in my css is the menubox headlines, I'll need to change those as well:
.menubox h4 { /* =menubox headlines */
padding: 2px 15px;
margin: 0;
border-top: 1px solid #3C3C30;
border-bottom: 1px solid #3C3C30;
background-color: #4C4C3D;
color: #896D19;
font-weight: bold;
font-size: 1.0em;
letter-spacing: 1px;
}
I've removed the text-color property, that will make the text the same color as
in the rest of the body. To get the boxed effect I've added side margins that
push the headline box away from the menubox sides and a border on all sides
instead of just top and bottom border. I change the style and color of the
border and the background color too. These are my changes:
padding: 2px 15px;
margin: 0;
border-top: 1px solid #3C3C30;
border-bottom: 1px solid #3C3C30;
background-color: #4C4C3D;
color: #896D19;
font-weight: bold;
font-size: 1.0em;
letter-spacing: 1px;
}
.menubox h4 { /* =menubox headlines */
padding: 2px 15px;
margin: 0 4px;
border: 1px dashed #B4C2C8;
background-color: #E4EFF4;
font-weight: bold;
font-size: 1.0em;
letter-spacing: 1px;
}
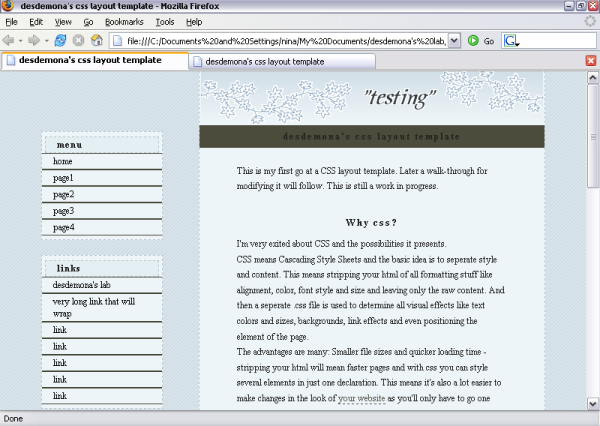
And in Firefox: 3rd previewpadding: 2px 15px;
margin: 0 4px;
border: 1px dashed #B4C2C8;
background-color: #E4EFF4;
font-weight: bold;
font-size: 1.0em;
letter-spacing: 1px;
}
I'll get to the navigation and links later on, for now I'll proceed with the maincontent area.
This is the old css:
#maincontent {
position: absolute;
top: 0;
margin-left: 240px;
width: 460px;
background: #474738 url(olive_top.gif) top center no-repeat; /* banner & bkgrcolor */
border-right: 3px double #3C3C30;
border-left: 3px double #3C3C30;
padding-top: 71px; /* height of banner */
}
I'll change the background color and image - the background image is actually the top banner. I'll change the style and color of the border to match the rest of the layout, and adjust the top padding to go with the size of the banner - it's almost the same height, but it could be any height you'd like.position: absolute;
top: 0;
margin-left: 240px;
width: 460px;
background: #474738 url(olive_top.gif) top center no-repeat; /* banner & bkgrcolor */
border-right: 3px double #3C3C30;
border-left: 3px double #3C3C30;
padding-top: 71px; /* height of banner */
}
My new edited version:
#maincontent {
position: absolute;
top: 0;
margin-left: 240px;
width: 460px;
background: #EEF5F8 url(flower_top.gif) top center no-repeat; /* banner & bkgrcolor */
border-right: 1px dashed #B4C2C8;
border-left: 1px dashed #B4C2C8;
padding-top: 72px; /* height of banner */
}
We're getting closer: 4th previewposition: absolute;
top: 0;
margin-left: 240px;
width: 460px;
background: #EEF5F8 url(flower_top.gif) top center no-repeat; /* banner & bkgrcolor */
border-right: 1px dashed #B4C2C8;
border-left: 1px dashed #B4C2C8;
padding-top: 72px; /* height of banner */
}
The navigation:
Now the basic stuff is edited, I'll go on with the navigation... the navigation is formatted as a so-called un-ordered list rather than just a bunch of links... each collection of links is a list (in <ul></ul> html tags) and each link is a list item (in <li></li> html tags). This may seem a bit tricky, but it makes all sorts of cool navigation styles possible, so just follow these steps and don't worry about it (thanks to css.maxdesign.com.au for some fab list tutorials)The first part of the navigation:
.menubox ul {
list-style-type: none; /* removing list bullets */
padding: 0 0 5px 0;
margin: 0;
}
I'll add top padding and side margins to push the links way from the menu box and each other. And added some letter spacing for a lighter look:
list-style-type: none; /* removing list bullets */
padding: 0 0 5px 0;
margin: 0;
}
.menubox ul {
list-style-type: none; /* removing list bullets */
padding: 2px 0 5px 0;
margin: 0 8px;
letter-spacing: 1px;
}
here comes the actual link and hover effects:
list-style-type: none; /* removing list bullets */
padding: 2px 0 5px 0;
margin: 0 8px;
letter-spacing: 1px;
}
.menubox a:link, .menubox a:visited {
display: block;
padding: 2px 15px;
text-decoration: none;
color: #000;
border-top: 1px solid #484839;
border-bottom: 1px solid #484839;
}
.menubox a:hover {
color: #76611D;
background-color: #464638;
border-top: 1px solid #414135;
border-bottom: 1px solid #414135;
}
.menubox a:active {
display: block;
padding: 2px 15px;
text-decoration: none;
color: #22221D;
border-top: 1px solid #484839;
border-bottom: 1px solid #484839;
}
The first part has the link styling, the second part the mouser-over/hover styling...
the third part shouldn't be neccesary, but IE mixes up the navigation link
styles and regular link styles, so I had to include it.display: block;
padding: 2px 15px;
text-decoration: none;
color: #000;
border-top: 1px solid #484839;
border-bottom: 1px solid #484839;
}
.menubox a:hover {
color: #76611D;
background-color: #464638;
border-top: 1px solid #414135;
border-bottom: 1px solid #414135;
}
.menubox a:active {
display: block;
padding: 2px 15px;
text-decoration: none;
color: #22221D;
border-top: 1px solid #484839;
border-bottom: 1px solid #484839;
}
First I'll change the text color. I go with one color for the first and third part and another for the hover part. I've removed the background color, as I just want the background color of the menu box to shine through.
I've added borders to the hover part, and the same borders ONLY IN THE SAME COLOR AS THE BACKGROUND (i.e. invisible) to the other parts. I've added the "invisible" borders to prevent weird jumping and moving of the text on mouse-over when the border is added. I've also adjusted the top padding on the whole thing as it seemed too massive. Quite a lot of editing, this is how it looks:
.menubox a:link, .menubox a:visited {
display: block;
color: #545556;
padding: 1px 15px;
text-decoration: none;
border-top: 1px solid #EEF5F8;
border-bottom: 2px solid #EEF5F8;
}
.menubox a:hover {
color: #6188AD;
border-top: 1px solid #CFDBE3;
border-bottom: 2px solid #CFDBE3;
}
.menubox a:active {
color: #545556;
display: block;
padding: 1px 15px;
text-decoration: none;
border-top: 1px solid #EEF5F8;
border-bottom: 2px solid #EEF5F8;
}
And in Firefox: 5th previewdisplay: block;
color: #545556;
padding: 1px 15px;
text-decoration: none;
border-top: 1px solid #EEF5F8;
border-bottom: 2px solid #EEF5F8;
}
.menubox a:hover {
color: #6188AD;
border-top: 1px solid #CFDBE3;
border-bottom: 2px solid #CFDBE3;
}
.menubox a:active {
color: #545556;
display: block;
padding: 1px 15px;
text-decoration: none;
border-top: 1px solid #EEF5F8;
border-bottom: 2px solid #EEF5F8;
}
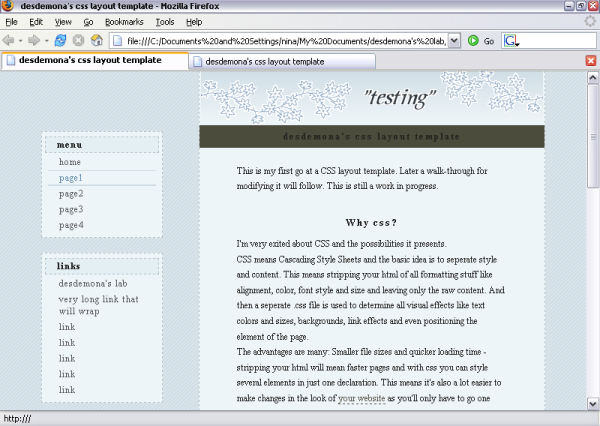
Our navigation is perfect - and the worst part is over ;)
Links and the rest:
Now I'll fix the links that are outside the navigation:a:link {
color: #606053;
text-decoration: none;
border-bottom: 1px dashed #606053;
}
a:visited {
color: #57574B;
text-decoration: none;
border-bottom: 1px dashed #57574B;
}
a:hover, a:active {
color: #76611D;
text-decoration: none;
border-bottom: 1px dashed #76611D;
border-top: 1px dashed #76611D;
}
'a:link' is a link (doh), 'a:visited' is an link you've already visited, 'a:hover'
is the hover state, when you move your mouse over a link (visited or not)
and 'a:active' is the link when it's clicked. I'll style these 4 states to
get a nice look that fits my website. Note: do style the links so visitors
can easily identify them as links (i.e if you remove the underlines make them
stand out from the regular text in another manner). Also, giving visited links
another style than not visited makes it easier to navigate and browse through
collections of many links.color: #606053;
text-decoration: none;
border-bottom: 1px dashed #606053;
}
a:visited {
color: #57574B;
text-decoration: none;
border-bottom: 1px dashed #57574B;
}
a:hover, a:active {
color: #76611D;
text-decoration: none;
border-bottom: 1px dashed #76611D;
border-top: 1px dashed #76611D;
}
For this layout I'll use one color for visited links and another for the other states. I'll use a solid bottom border on all links and a top and bottom border in the hover state. Like this:
a:link {
color: #6188AD;
text-decoration: none;
border-bottom: 1px solid #6188AD;
border-top: 0;
}
a:visited {
color: #7E99AC;
text-decoration: none;
border-bottom: 1px solid #7E99AC;
border-top: 0;
}
a:hover, a:active {
color: #6188AD;
text-decoration: none;
border-bottom: 1px solid #6188AD;
border-top: 1px solid #6188AD;
}
color: #6188AD;
text-decoration: none;
border-bottom: 1px solid #6188AD;
border-top: 0;
}
a:visited {
color: #7E99AC;
text-decoration: none;
border-bottom: 1px solid #7E99AC;
border-top: 0;
}
a:hover, a:active {
color: #6188AD;
text-decoration: none;
border-bottom: 1px solid #6188AD;
border-top: 1px solid #6188AD;
}
That done, we still have some odds and ends to fix...
h2 { /* =main content headlines */
background-color: #49493B;
padding: 6px;
margin: 30px 0 20px 0;
border-top: 1px solid #3C3C30;
border-bottom: 1px solid #3C3C30;
color: #272721;
font-weight: bold;
font-size: 1.1em;
letter-spacing: 2px;
text-align: center;
}
h2.toptitle { /* =1st main content headline */
margin-top: 0; /* removing top margin on main title to align with banner */
background-color: #4C4C3D;
}
This is the bigger headlines in the main content area. I've made a special rule
set for the 1st headline, because I wanted it close to the top banner and
I had to lose the top margin for that purpose... so this is why there is 2
declarations.background-color: #49493B;
padding: 6px;
margin: 30px 0 20px 0;
border-top: 1px solid #3C3C30;
border-bottom: 1px solid #3C3C30;
color: #272721;
font-weight: bold;
font-size: 1.1em;
letter-spacing: 2px;
text-align: center;
}
h2.toptitle { /* =1st main content headline */
margin-top: 0; /* removing top margin on main title to align with banner */
background-color: #4C4C3D;
}
Ok, I'll start by removing the background-color property all together. Like in the menubox headlines I'll go for a boxed-in look, adding side margins and border on all sides. I'll change the color and style of the border and get rid of the text color, making the headline text the same color and the rest of the text. These are my edits:
h2 { /* =main content headlines */
padding: 6px;
margin: 30px 4px 20px 4px;
border: 1px dashed #B4C2C8;
font-weight: bold;
font-size: 1.1em;
letter-spacing: 2px;
text-align: center;
}
h2.toptitle { /* =1st main content headline */
margin-top: 0; /* removing top margin on main title to align with banner */
}
This result: 6th previewpadding: 6px;
margin: 30px 4px 20px 4px;
border: 1px dashed #B4C2C8;
font-weight: bold;
font-size: 1.1em;
letter-spacing: 2px;
text-align: center;
}
h2.toptitle { /* =1st main content headline */
margin-top: 0; /* removing top margin on main title to align with banner */
}
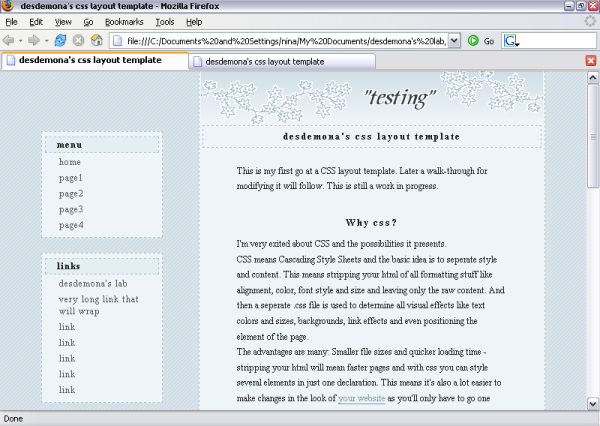
I find that the smaller headlines, text paragraphs and the list looks fine, so no more editing there... I'll just add one little detail. I do a tiny graphics to replace the listbullet:
from this:
#maincontent ul { /* =main content lists */
list-style-image: url(olive_listbullet.gif);
padding: 10px 70px;
margin: 0;
line-height: 170%;
}
to this: list-style-image: url(olive_listbullet.gif);
padding: 10px 70px;
margin: 0;
line-height: 170%;
}
#maincontent ul { /* =main content lists */
list-style-image: url(flower_listbullet.gif);
padding: 10px 70px;
margin: 0;
line-height: 170%;
}
and my new layout is finished :)list-style-image: url(flower_listbullet.gif);
padding: 10px 70px;
margin: 0;
line-height: 170%;
}
You might want to rename the css file to something more fitting... in this case I've named my layout 'flower.css'
Open up your htm file in notepad and change the name of the linked css file to 'flower.css' as well.
<link rel="stylesheet" href="layout/flower.css" type="text/css">
(this is located in the head part of the document.)And that's it, you're done :)