Inverting and editing a mask
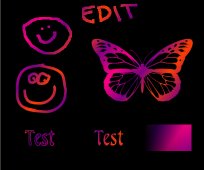
If I wanted the oposite effect I could have checked the 'Invert mask data' box
when I created the mask. Or I can simply choose Masks -> Invert. That will
give me this result, as the areas with opaque and transparent are inverted:

I'll stick with the first version though.
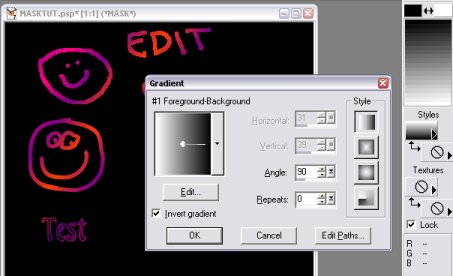
Now the mask is created, but I can still edit it if I'm not happy with it. Click
Masks -> View Mask and then Masks -> Edit.
You will notice that the color
palette is now turned into greyscale, and the transparent areas are shown with
a red hue but the layer underneath is still visible. You can use all tools with
the greyscale colors, just keep in mind that black is transparent, white is
opaque and the colors inbetween are more transparent the darker they are. Here
I grab a black
color and paint 'edit' on the mask. Then I get the gradient tool again, and
set a gradient that is a mix of black and white.
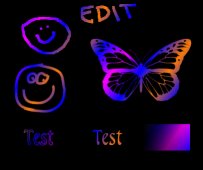
I select a rectangle on the mask and fill in with the bucket tool. Now the mask
looks like this:
I click Masks -> Edit to leave the editing mode and Masks -> View to remove
to red 'film'. Now my image looks like this:
>>> next page, Saving and loading
a mask and...>>>